
Removing the crapware from your smartphone.

Continuing the tradition of blogging about anything that requires even the slightest amount of effort, here’s what’s involved in installing cyanogenmod on a Samsung II (GT i900). Because that’s just what weekends were made for.
This was inspired by watching some DW show on Briz31 which went on about how cyanogenmod allows you to use your phone without all that Optus bullshit installed on there (since DW is a German TV channel, they probably didn’t mention Optus, but feel free to replace them with whatever telecoms provider is helpfully trying to sync all your your data into their butt).
It may also have been inspired by my inability to play any humblebundle games on my phone since my last firmware update.
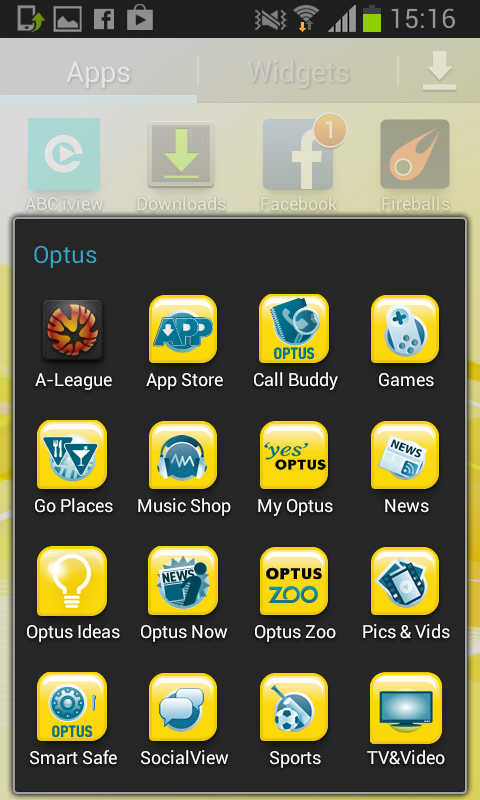
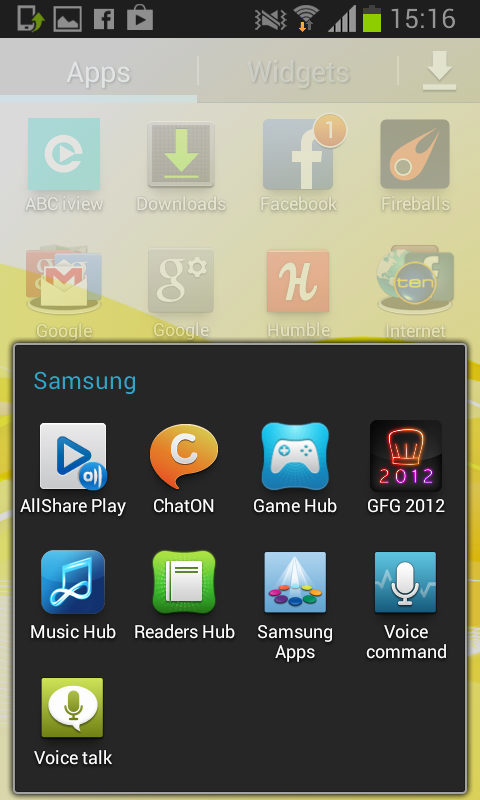
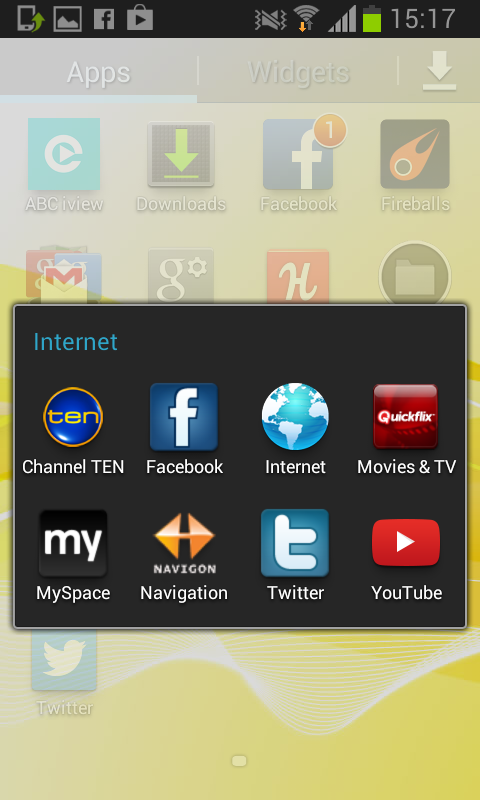
Anyway, this is the sort of bullshit I’m trying to get rid of:
|
|
|

|
The crapware preinstalled on my phone from Optus®, Samsung®, Samsung® again and Google® (Click to zoom).
They don’t arrive organised in nice little folders like this though.
Oh no. They’re scattered in all sorts of panels and screens and things.
Also, why is the user interface to manage apps in the ‘Apps’ folder completely different to the user interface to manage apps in the Homescreen ? Hmm ? Answer me that Samsung or Optus or Google.
And that’s not including the count-them nine pages of ‘widgets’ that I’ve never used.
Bonusser points: rediscover the five different screenshot folders on the USB filesystem that don’t contain the files you’re looking for. The folder you’re looking for isn’t
F:\ScreenCapture, orF:\media, orF:\DCIM\Camera, orF:\DCIM\Photo, orG:\DCIM\Camera, it’s inF:\Pictures\Screenshots
So anyway, this is what’s involved in installing cyanogenmod. I’ll put some timechecks on here so you get an idea of how much of your life you’re not getting back.
1) Back up the phone
(Approximate time: midday) This may involve starting the almost criminally inefficient Kies software, connecting, disconnecting, connecting, disconnecting, connecting and disconnecting the device a few times, and trying to stop it from updating itself constantly.
Once you’ve got Kies to recognise that the thing on the end of the dangly USB cord is actually a phone, restart the application a few more times before it manages to work out how to read any of the data on it.
(12:15pm) Start a backup.
Wait two and a half hours.
2) Back up the phone without using Kies
(2:30pm) Kies will tell you that it has both succeeded and failed, because the people who wrote this software are morons.
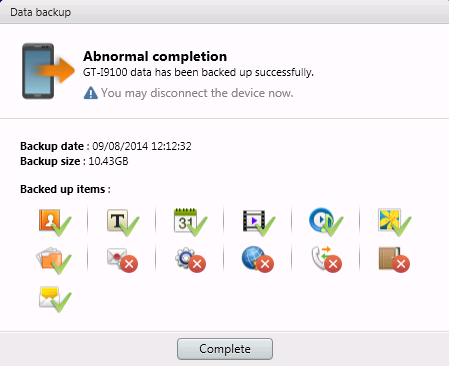
/ ‘GT-I9100 data has been backed up successfully.’ dialog box.
Looks look situation normal to me.
As you can see, Kies can’t manage to backup the envelope with a red thing on it, the envelope with a yellow thing coming out of it, the cog, the globe, the phone, and some kind of brown book. The orange book is fine though, so that’s something.
Make a note of the things that didn’t copy properly, and then try backing those up again, which will give you the following fantastically vague error message.
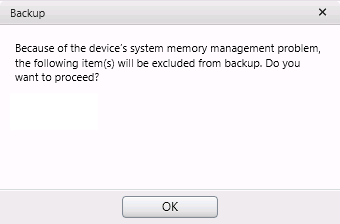
Also, the multitude of choice(s) given to the user(s) at this point(s) is self-empowering.
(2:45pm) Convert the device to USB storage mode, try to get that to connect to your computer a few times, and then finally copy the data of the newly discovered F and G drives to your PC’s harddrive.
If you can find the data that Kies partially copied off your device, you could use that to seed the backups.
Wait another hour or so for that to finish
3) Install the APK on the device
(3:40pm) Download and install the cyanogenmod APK to the smartphone.
To enable APKs, don’t go into Settings -> Application Manager, or Settings -> Developer options, or Apps -> Settings, or even Settings -> More settings. Go into Settings -> Security. That’s where it is.
You’ll also notice the hyperlink to the APK on the http://beta.download.cyanogenmod.org/install page isn’t actually a hyperlink.
4) Install the MSI on your PC
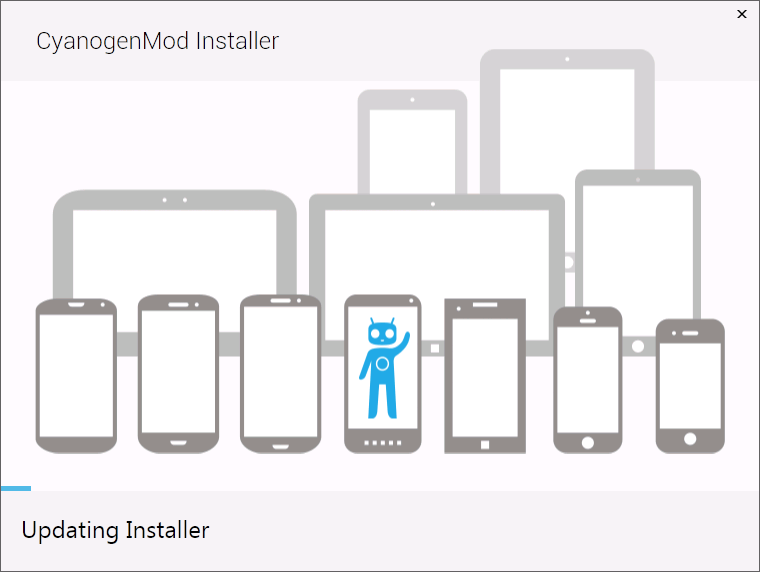
(3:45pm) Install the cyanogenmod MSI installer to your laptop.
Once it’s running, kick back for ten minutes or so whilst that updates itself.
5) Run the APK and MSI installer
Run the APK installer on the phone, and click the buttons it tells you to click.
Now that your phone is now receptive to rooting, follow the prompts in the MSI installer.
| 
|
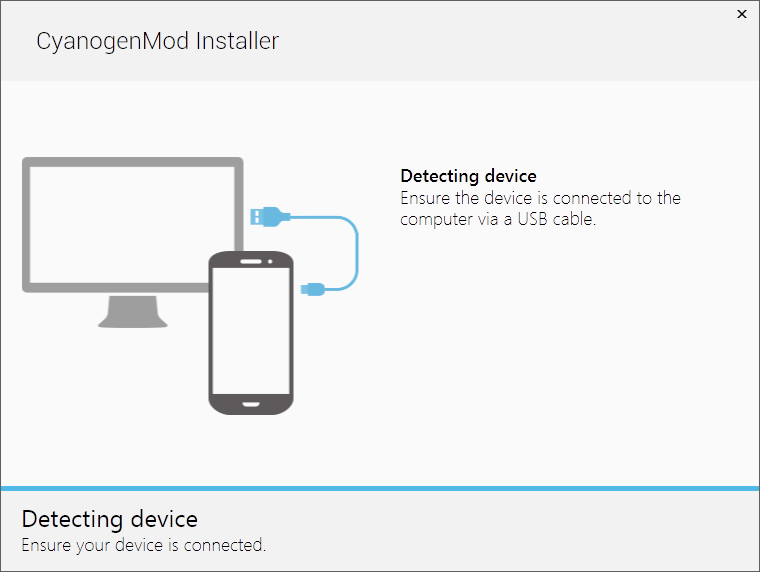
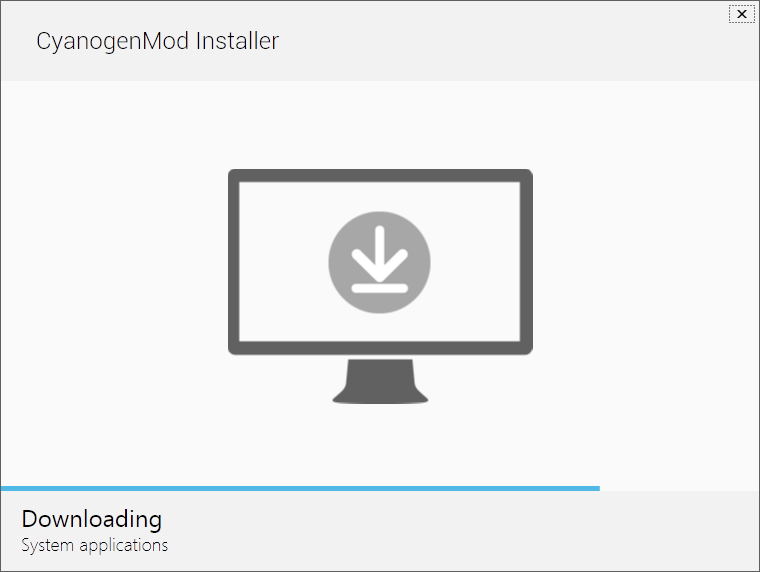
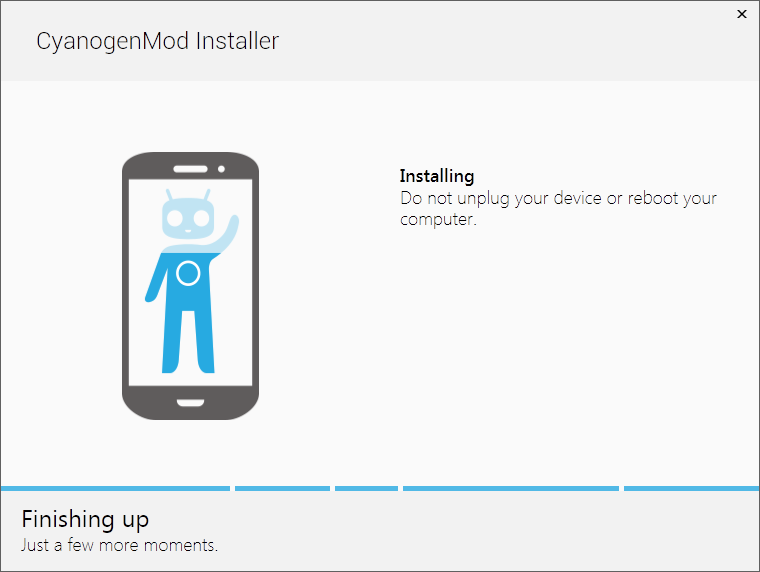
Detecting device, and downloading the cyanogenmod components.
Wait an indeterminate amount of time for the operating system and other bits and bobs to download. Whilst waiting, try to hazard a guess at how much of your professional life has been spent contemplating progress bars. Let’s say a year.
If you like, take this time to spend time with your loved ones, or instead, make up a little story about installing operating systems for your website.
6) Repeatedly bash head against desk
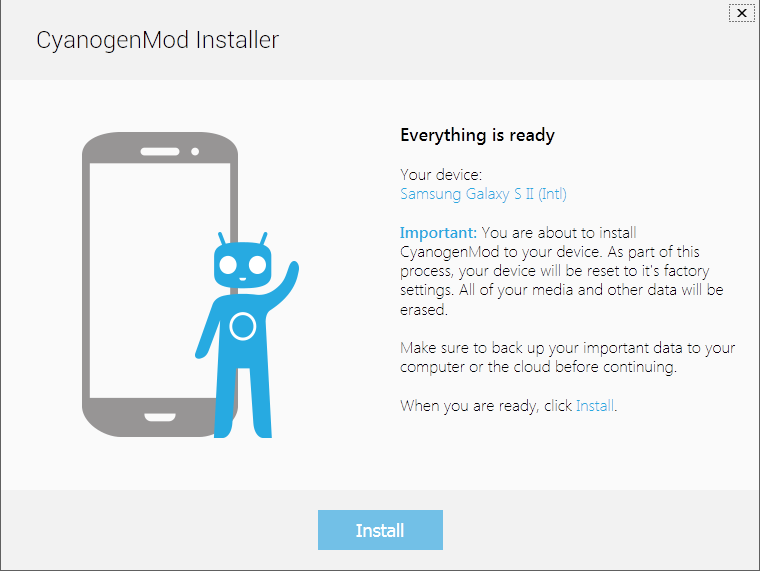
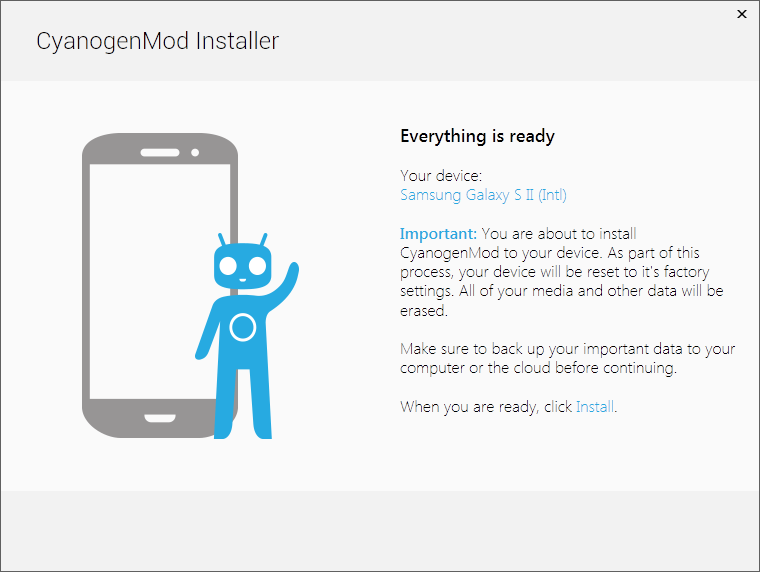
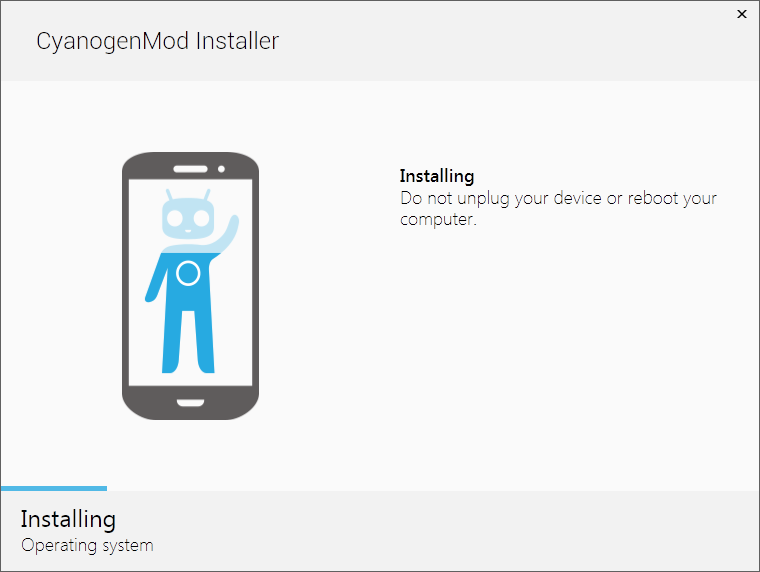
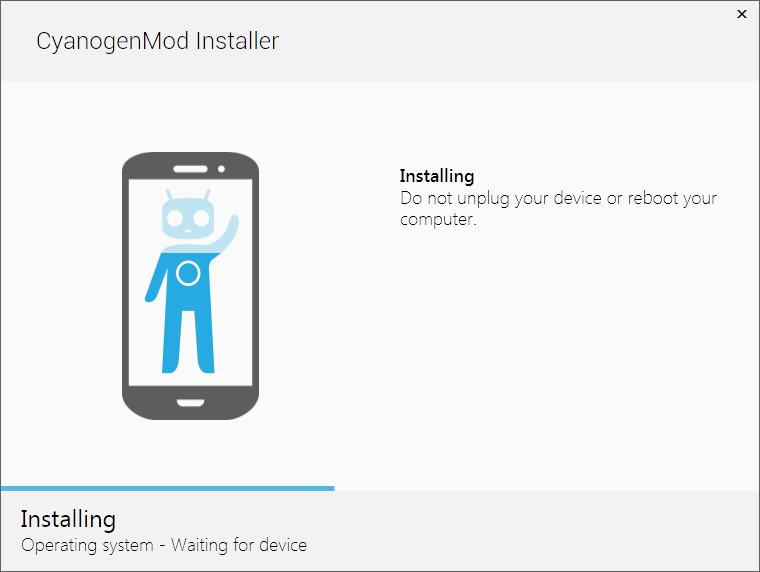
(3:45pm) When it gets to the bit where it says to click ‘install’, click ‘install’ and then sit around for 10 minutes wondering whether it’s doing anything
| 
|
Before hitting install, and after hitting install. Stare at that second image for half an hour.
Is it doing anything ? Is it not doing anything ? You tell me.
(4:30pm) After about half an hour, give up, and reboot the machine and the phone, as advised by this random post.

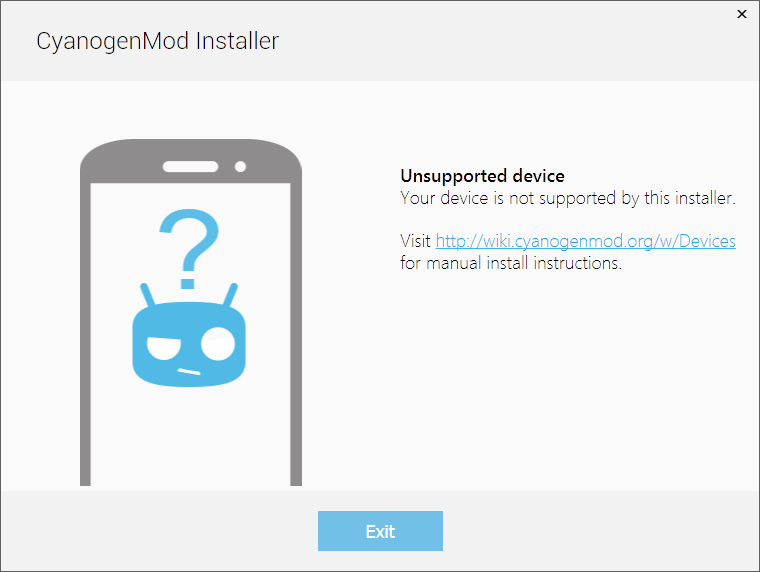
(4:45pm) Rerun the CM installer, which now says that ‘your device is not supported’, even though it’s on the list of supported devices at the http://wiki.cyanogenmod.org/w/Devices#vendor=”Samsung” .
Read the vast amount of excitingly-named hoops you need to jump through in order to install cyanogenmod manually ( http://wiki.cyanogenmod.org/w/Install_CM_for_i9100 ), swear, and then try the automatic installer again. Maybe on Windows XP. That’ll work, even though the site says it won’t.
(Prerequisites: a modern operating system, such as Vista).
(5:00pm) Well what do you know, that doesn’t work either, which is surprising because it appears to be one of those Microsoft .NET shouldn’t-this-be-more-cross-platform-errors-I’m-sure-there-was-a-reason-for-slavishly-copying-the-bits-of-Java-that-Microsoft-was-allowed-to-except-for-the-bits-that-caused-it-to-break-on-other-operating-systems-so-lets-create-another-fucking-language way.
![The System.ComponentModel.Win32Exception occuring in CMInstaller.exe [6952].](https://www.randomnoun.com/wp/wp-content/uploads/2014/08/cm-installer-7.png)
then…
Go back to your Windows 7 machine, reboot it, and run the installer MSI once more, after which it gets a little further after you hit that light blue ‘Install’ button:
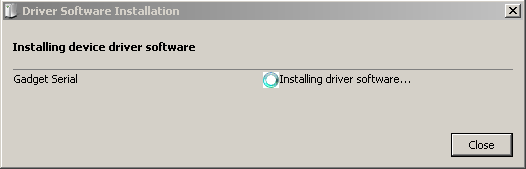

(5:10pm) In the three minutes or so it takes to install the device drivers from Windows Update, the installer times out and asks you to try again.
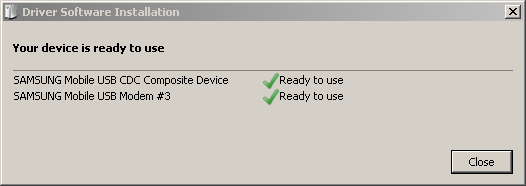
Wait for the drivers to finish installing, click ‘try again’, and watch your phone screen go blank, then give you a message saying ‘Downloading… do not turn off target !!’
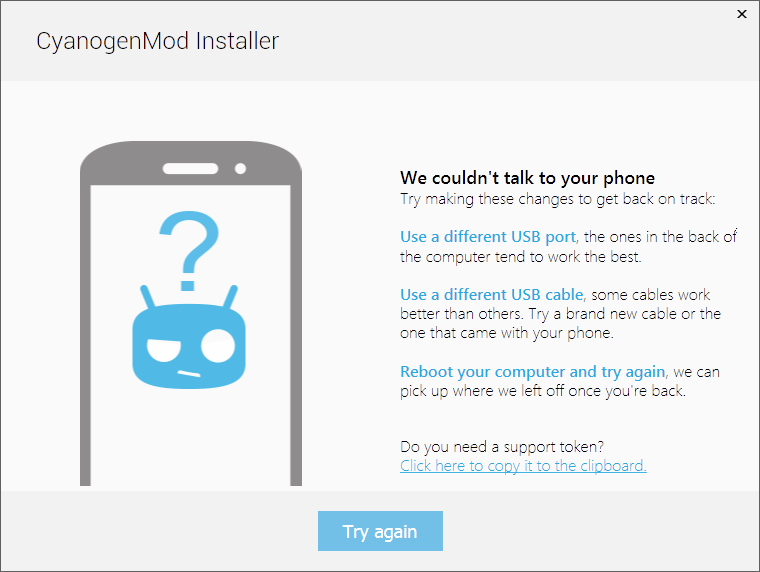
Your PC will then tell you that it can’t talk to your phone with the same quizzical blue dude image shown earlier.
So even though your phone explicitly tells you not to turn it off, turn it off. And then back on again.

Click ‘try again’ on the PC installer.
That doesn’t work, so close down the PC installer, run it again, at which point it gets a little bit further… when your phone gets to the ‘Downloading… do not turn off target!!’ message, it also gives you a little progress bar underneath that moves and everything.
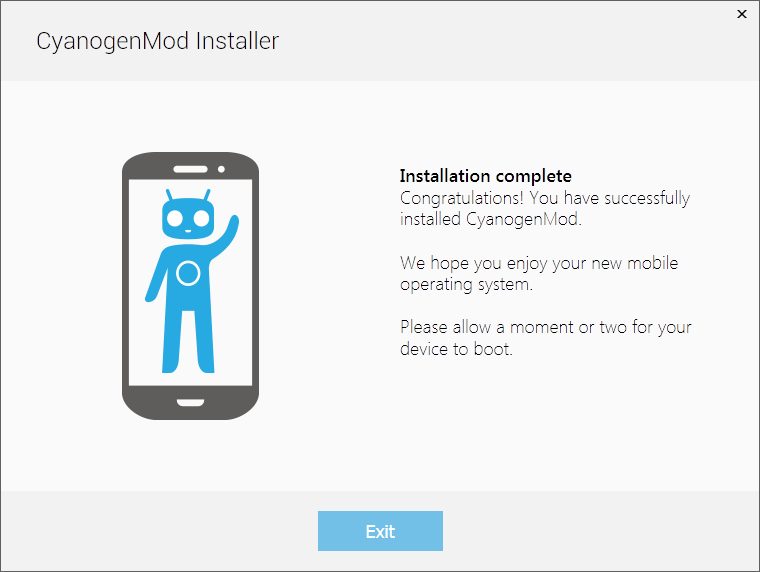
Then your phone reboots
Then you get a get a little blue guy waving at you
Then you get a picture of the google android robot with it’s chest cavity hanging open, containing within it a spinning icosahedron, with another different type of progress bar underneath
Then your phone reboots again.
Then you get the blue guy.
And then you get the spinning icosahedron thing.
And then it reboots again.
And then you get some swirly-arrow-around-the-blue-cyanogenmod-guy animation.
And that appears to be it.
| 
|
| 
|
Whilst your phone is being cleared and rises again like the phoenix, this is happening on your PC.
7) Configure the phone
Remember that you can’t receive SMSes yet, so all the wonderful two-factor authentication you set up with Google is going to be more secure than usual.
- Set your language
- Create a cyanogenmod account.
- This will require connecting to your wifi network first
- This may appear to connect, then fail, then connect and then fail.
- Remember that you changed your WPA2 PSK key about a year ago, and try again
- Say ‘yes’ when it asks you whether you have a google account
- Try to remember which google account you used in the previous Samsung-supplied OS
- It’s probably the @gmail.com one
- Then remember that you’ve got 2-factor authentication enabled, so that’s probably not going to work, is it.
- Hit next to sign in on the web
- Try the alternative ‘call your backup phone’ option to get the verification code.
- Receive a phonecall from a robot at google on your landline which you still have for precisely this purpose.
- You know how the internet cuts out every time you get a phonecall, that’s going to happen. Yes I’ve checked the filter.
- Mistype the code, and discover the backspace doesn’t work
- And that big blue ‘verify’ button doesn’t do anything anyway
- When you eventually get the ‘cannot contact google’ message, click ‘Try again later’, which doesn’t skip this step at all, it takes you back to the account verification screen instead.
- Get another phonecall from a robot at google giving you the same string of digits as before
- Enter the number, get a message back saying it’s wrong, get them to call you again, they give you the same number a third time, and the verify button appears to not work again.
- Click the back button repeatedly until you can say that you don’t have a google account.
- Don’t agree to create a new google account.
- Enable location settings, GPS, and Wifi location services
- Set the timezone
8) Relearn how to use a phone
- Try to make a phonecall. Well that appears to work.
- You might want to turn off dialpad touchtones at this stage, depending on how many IVR systems you deal with on a daily basis.
- Those SMS messages that google sent earlier will arrive as well. You’ll notice that it’s a completely different number to what they told you over the phone.
- When you hit what I imagine is the ‘contacts’ icon, it asks you for your google account details again
- Give in to your general sense of dread and loathing, and try entering your account username and password again.
- Holy shit it works. It probably helps that you can see your SMS messages now.
- All these ‘Error downloading…’ notifications aren’t inspiring though.
- Then rediscover how the camera works.
- Then install facebook.
- … which now requires ‘other application ui: draw over other apps’ permissions for some reason.
- Get frustrated with the 10 second interval between using the phone and the screen switching itself off.
- Enable ‘System Settings’ -> ‘Interface’ -> ‘Notification drawer’ and enable the ‘quick access ribbon’
- Which doesn’t allow you to change the screensaver delay anyway
- Enable ‘System Settings’ -> ‘Interface’ -> ‘Quick settings panel’ -> ‘Quick pulldown’ -> ‘Right’, then pull down the right hand side of the status bar, and see what’s in there
- Tap ‘Tiles and Layout’, and add the ‘Screen Timeout’ tile
- Hike that up to 5 minutes or something
- Notice that of the 100 or so phone contacts you used to have, there is now only a single solitary phone contact listed in the dialer. Think about entering all your phone contacts again. Decide to leave that for another day.
Go through all the other settings, do the things I normally do when I get a new phone.

- Install humblebundle
- Discover that all your humblebundle games were claimed on the previous OS, so when you go into the Humblebundle installer app, you get a message saying that ‘You have no unclaimed purchases!’.
- When you check again the next day, you’ll find that your games are listed again. Weird.
- Install Canabalt and verify that the sprite repeatedly smashes it’s face into the side of rapidly side-scrolling buildings.
- (Optional) Install Tinder, Grindr, Peppr, or Whatevr app you use for gaining access to people’s rude bits.
USB Storage
This might also be useful:
- To access your phone’s USB storage from your PC again, you’ll need to go to ‘System Settings’ -> ‘About phone’, click on ‘Build number’ 7 times (yes, seven times) to enable development settings.
- Go to the Google Play store, and install an app called ‘USB mode switch for SGS1 on CM’.
Run that and accept all the warnings it gives you. - Click ‘Change to mass storage’, which apparently now requires rebooting the phone.
- You should now be able to access the aforementioned photo of feet via the F:\ drive on your PC.
- Except that doesn’t work. Maybe turn off USB debugging under Developer options.
- Try on another PC
- Now it connects, but when you click ‘enable USB storage’ it says it’s connected but no drives appear.
- Unplug it plug it in again.
- Now it works. Maybe it was the cable.
Mission accomplished about 6:30pm.
You can now write that up on your website. Which takes another three hours or so. Consider putting the URL to the post on your gravestone as a warning to others. Probably use one of those URL-shortening services.
To recap
| Before | 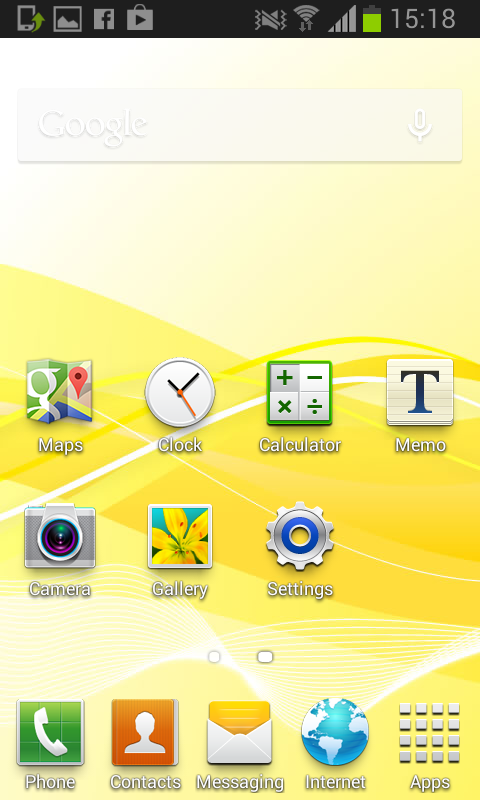
| 
| 
|
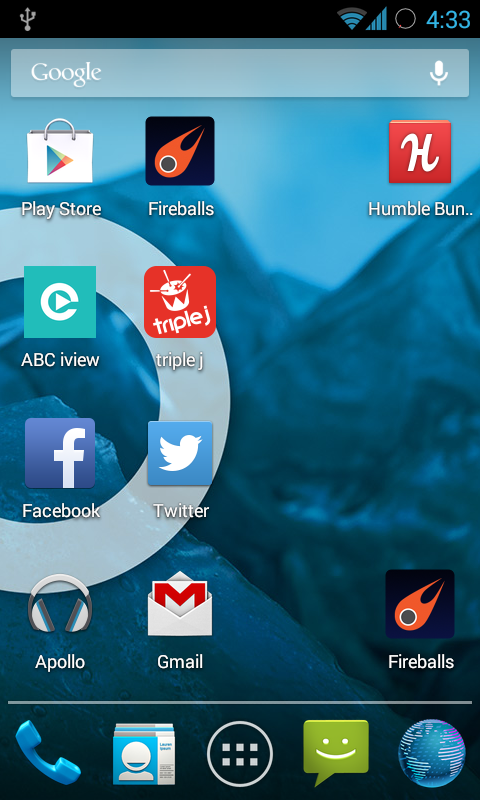
After | 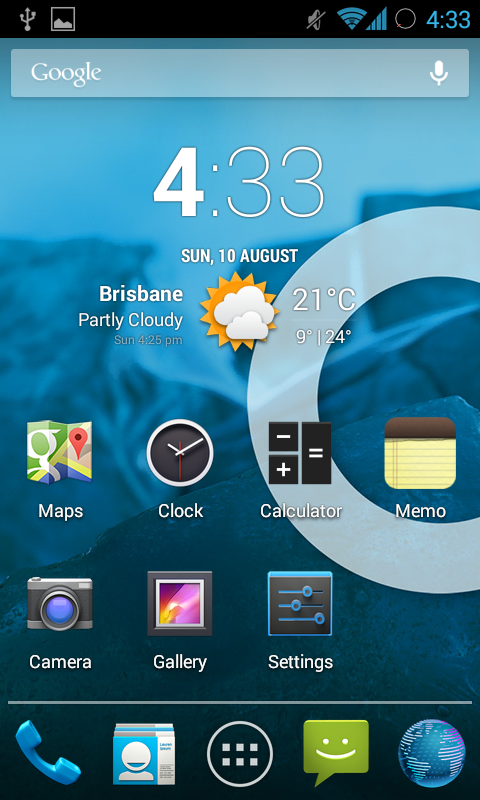
| 
|
|
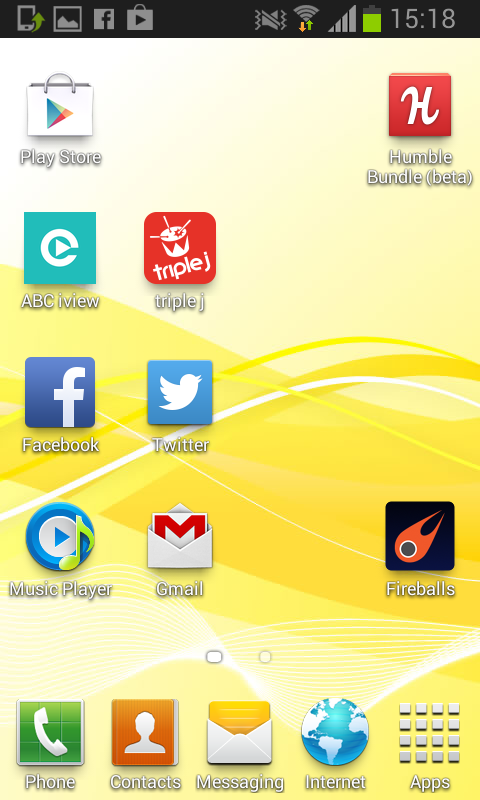
Before: Samsung home screen 1 and 2, and the view from my couch circa Feb 2012.
After: The leaner, faster, bluer cyanogenmod home screen 1 and 2,
and the slighly more camera-scarred view yesterday.


